How to Get Feed the Beast on Pc
Feed the Beast is exactly what it sounds like, provided you're aware that the beast in question is Mojang's behemoth Minecraft, and the food that you are piling into it is mods. It's a launcher that shovels in tweaks, rebuilds, and textures like burly men fuelling the furnaces of a great mechanical monstrosity that bursts and evolves with each additional scoop of coal.
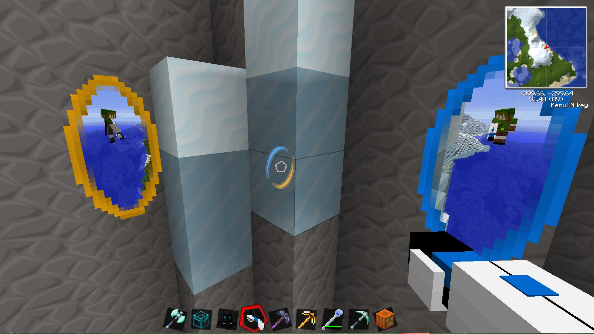
For anyone shy of intermediate Minecraft expertise, it is potentially a little confusing and frightening too. Not only is it a new front end with lots of buttons to deal with, but it also changes the way Minecraft can function in a manner you probably haven't even considered to fantasise yet. Portal guns, self-automated production lines, alternate dimensions, and beekeeping await you within Feed the Beast. But before all that, you need to get started.

You're going to need to nip across to the Feed the Beast website first to actually download the thing. With it installed and your profile set up within the launcher (use your normal Mojang account details), you'll be able to select from different Modpacks, Maps, and texture packs to apply to Minecraft. In the Modpack tab you'll see mods from lots of different users, including fan favourites Direwolf20 and VoxelModPack. Each one offers a selection of different changes to vanilla Minecraft, but the most sensible choice to start with is FTB Ultimate, which injects Minecraft with pretty much everything the Feed the Beast team deems 'excellent'. So select it and hit the launch button to start your adventure.
Now you're in Minecraft, it's time for a little Survival 101. Do what you normally would; head out into the world, punch some trees, get some wood, start making stuff. A pickaxe is naturally useful for excavating the materials you'll need, and a sword and armour will help fend off trouble. Keep your eye out for adventure opportunities. Some of FTB Ultimate's toys don't require crafting from scratch, so that treasure chest you just noticed may contain the Portal gun.
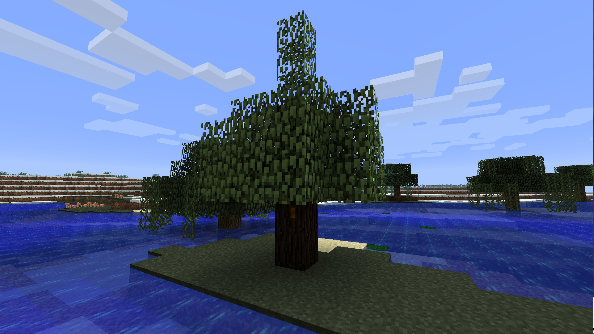
When you are ready to set up camp, try and settle near a cluster of rubber trees. These trees are part of the Industrial Craft mod, which makes up a great deal of FTB Ultimate, and what we're going to focus on here. You can recognise them by their dark brown trunks and a set of three leaf blocks that stick up from the top of the tree. Rubber trees are important because you can extract their resin and make rubber insulation from them, which is pretty damn necessary when messing with electricity.

With your cluster of rubber trees found and a secure base built close by, start stripping the leaves off the trees. You'll see little spots on the trunks, which is where you can extract resin with a treetap. Build one using five wooden planks in an arrangement of one plank in the top row middle box, a full middle row of planks, and a final plank in the bottom left corner of your crafting window. With the tap equipped, start draining trees of their resin with a right click on the yellow spots. Pro tip: don't pull the top three blocks of leaves off the tree that protrude up from the trunk; if they stay on the tree the resin spots will regenerate after a while.
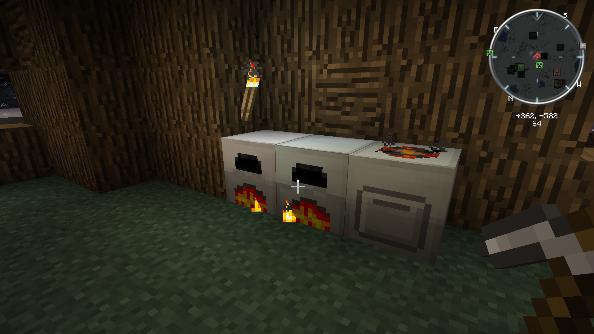
With 10 or so blobs of sticky resin clinging to your inventory, you can get started on bringing the industrial revolution to Minecraftville. Start mining for coal, cobblestone, and iron. With a decent amount of each in your possession return home to start building an iron furnace. First craft a furnace using eight cobblestone blocks arranged in a square around the edges of your crafting window, and then turn it into an iron furnace by combining it with five iron ingots. Suddenly you have your first industrial machine installed in your house. Feeding your iron furnace one piece of coal will allow you to smelt down ten items into more useful materials. It's a bit messy though, and pretty last century, so now it's now time to focus on electricity.
Building a generator to electrically power machines requires a fair time investment. You're going to need a lot of materials. Thankfully you've already got rubber from your tree tapping activities, but you're also going to need a bunch of other items. Start hunting out redstone and tin ore to turn into batteries, and copper to spin cables from. Around ten of each item is essential. Alongside this, find as much iron and coal as you can. Copper can be identified by a red/orange ore line, which is pretty deep in the ground. Tin is more silvery, and redstone is dug up from the bottom 16 layers of the map. It will probably take some time to harvest what you need, so no one is going to blame you if you'd rather stick the game in create mode and pile up infinite resources.

If you're looking to add some new life to your Minecrafting, you should check out ourtwenty best Minecraft mods.
With the fruits of your labours in hand, use the iron furnace to smelt 17 iron, 6 copper, 10 sticky resin, and 4 tin. Smelt 12 of your iron ingots again to create refined iron ingots, feeding the furnace as necessary with coal. You're going to build a battery, which requires wiring with copper cables. You can create these by lining up three copper in the middle row of your crafting window, and surrounding them top and bottom with rubber. With cables created, put one in the top middle slot of your crafting window, with two redstones below it, and tin ingots flanking each side of the redstone blocks. This creates the RE battery, and ushers in the age of electricity.
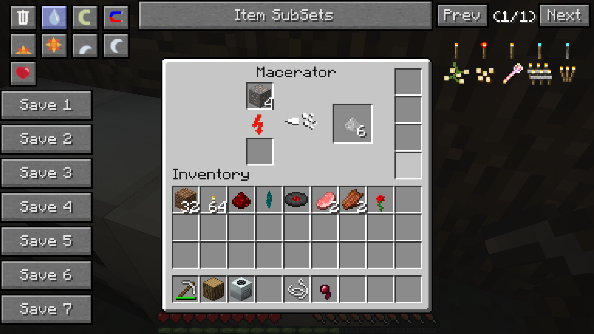
The battery is the heart of an electric generator, so place it in a crafting window in the top middle slot. Then throw three refined iron ingots into the middle row, and in the bottom middle drop your iron furnace. You now have a generator, which transforms coal into electricity, and will power whatever machine is placed next to it. It's not going to be much use sitting there on its own, so make a macerator: a machine that will crunch up metal ores into powders, which can then be smelted to create two ingots rather than just one.
Making machines like the macerator requires a machine block, which is easily made using the same crafting pattern as a furnace, but using refined iron ingots instead of standard iron. You'll also need an electric circuit, which is made up of top and bottom rows of insulated copper cable, a centre block of refined iron ingot, and two redstones either side.

Put your machine block in the centre of your crafting window, surrounded by two cobblestones to the left and right. Fill the top row with three pieces of flint, and drop your electric circuit in the bottom middle slot. Craft those and you have your very first machine, and your gateway into a world of insane machinery. Just drop it next to your generator and it's powered and ready to grind. Rebuild a new iron furnace to replace the one you used to create the generator, and your first production set-up is ready to rock. Throw ore into the macerator, and then smelt the two dust that it creates into two ingots. That's double efficiency right there.
From here on, you either need a fantastic mind, or the help of someone far better at Minecraft engineering than myself. Your smelting machines can advance to more efficient installations, such as pulverisers and induction smelters. These lead to automated mining systems, molecular assembly machines, and electrical components like solar panels and tesla coils. If you're feeling a bit lost on what to do now, try looking at Feed the Beast Let's Play videos on YouTube for ideas, or peruse this list of 'Things to Do' for some inspiration. But regardless of if your plans are to build a massive nuclear reactor surrounded by a containment field, or just mess around hitting beehives for kicks, Feed the Beast offers up a whole new thrilling side of Minecraft.
Source: https://www.pcgamesn.com/minecraft/minecrafting-getting-started-feed-beast
0 Response to "How to Get Feed the Beast on Pc"
Postar um comentário